Today we will be installing Lineage OS on our Moto G5 Plus. The developers at Lineage OS have not officially released the Lineage OS for Moto G5 Plus, the ROM we are installing is developed by Vache, a developer at XDA.
All your apps will be deleted, make sure you make a backup of all your files.
How to Install Lineage OS on Moto G5 Plus
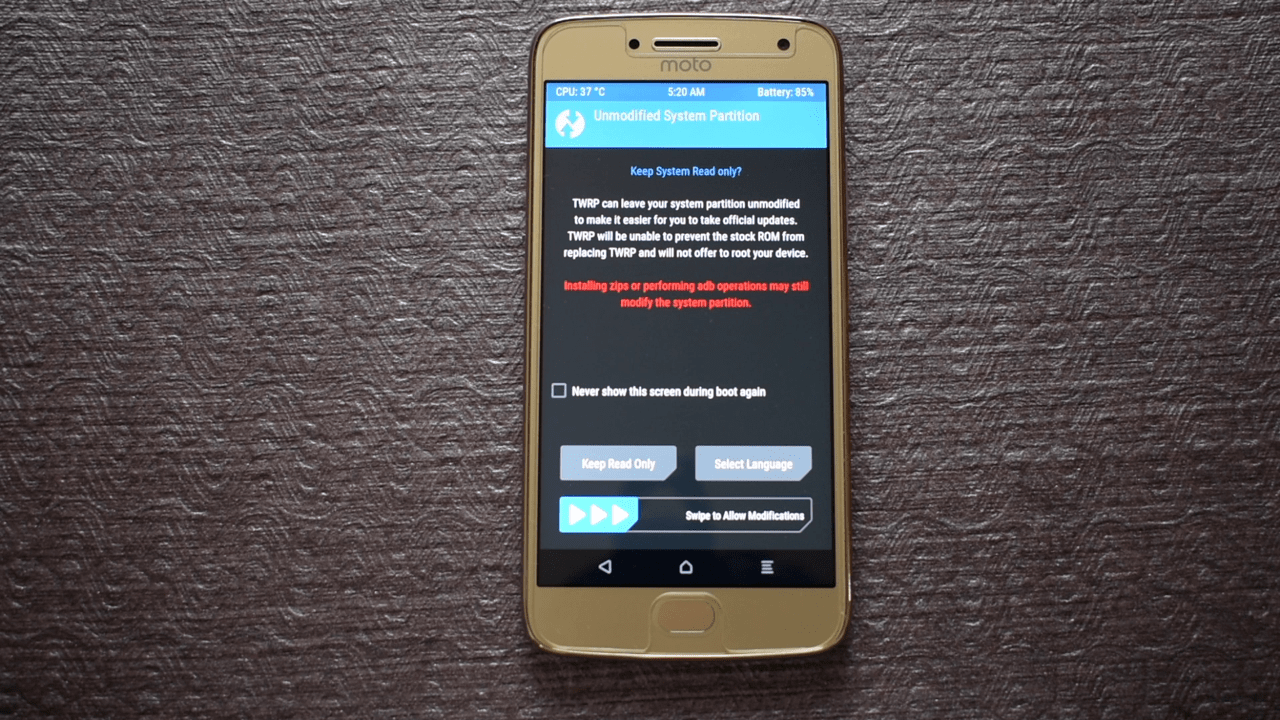
Now press the volume down key until you see “Recovery Mode”, and then press the “Power Key”. Your phone will restart in the recovery mode. First, swipe the slider to allow modifications.
![]()


![]()
- First of all, you need to have a rooted phone, if you don’t, then see how you can root Moto G5 Plus.
-
Then you have to power off your device and restart it in the bootloader mode. This can be done simply by holding the volume down and the power key together until you see a screen like this.

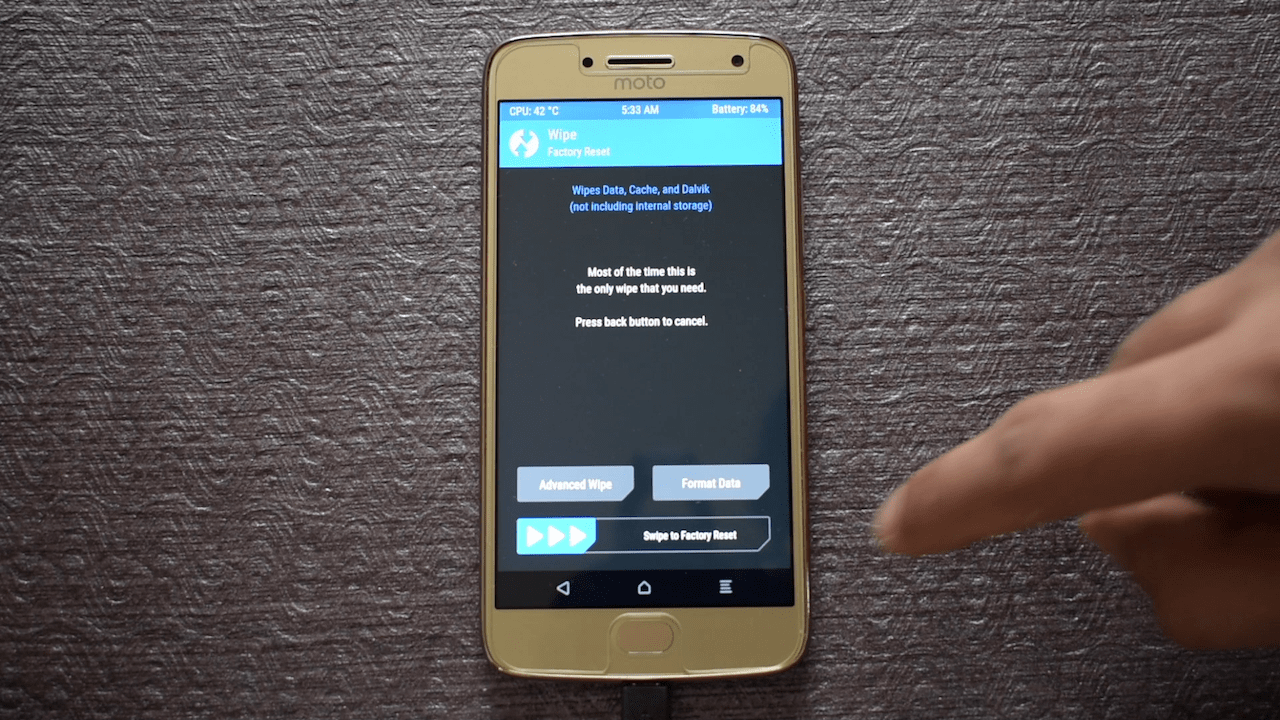
- Now click the wipe button, and swipe to Factory Reset your phone.
- Now continue the steps on your Computer.
- We need to download 3 files for installing Lineage OS.
- The first one is the Lineage OS ROM file.
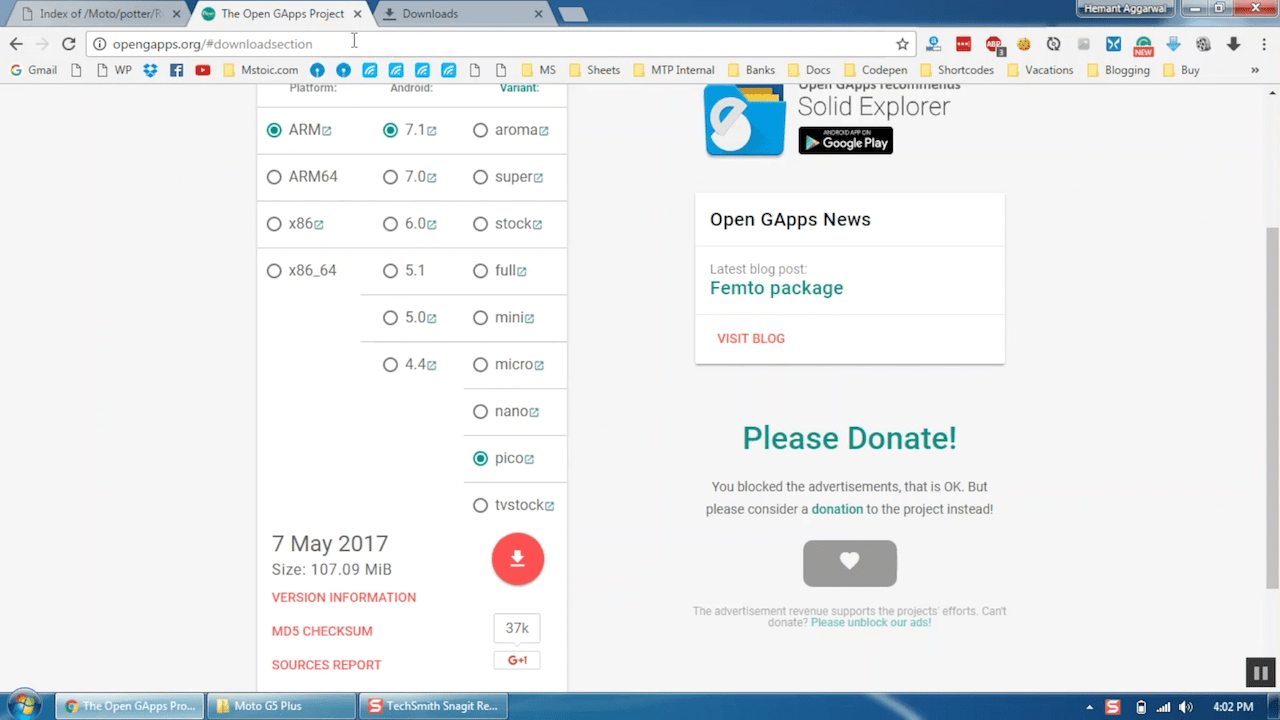
- Then you need Open Gapps for Google Play Store and all other Google services. Make sure that you select ARM as the platform, 7.1 as Android version and Pico, Nano or Micro as the variant. Then click the red download button.
- The third file is the SuperSU file.
- You also need to install Motorola Device Manager if you have not done already.
- Now, connect your mobile to your PC and transfer all the 3 files to your mobile. Once copied, you can detach the USB Cable, as the computer part is now over.
- On your device, click the back button until you reach the TWRP start screen.
- Now, click on Install, and Select the Lineage OS file. Then swipe to confirm flash. Once the process completes, go back and install Open Gapps.
- After Open Gapps is finished installing, go back and install the SuperSU file.
- After SuperSU is also installed, click on wipe Cache/Dalvik and then swipe to confirm.
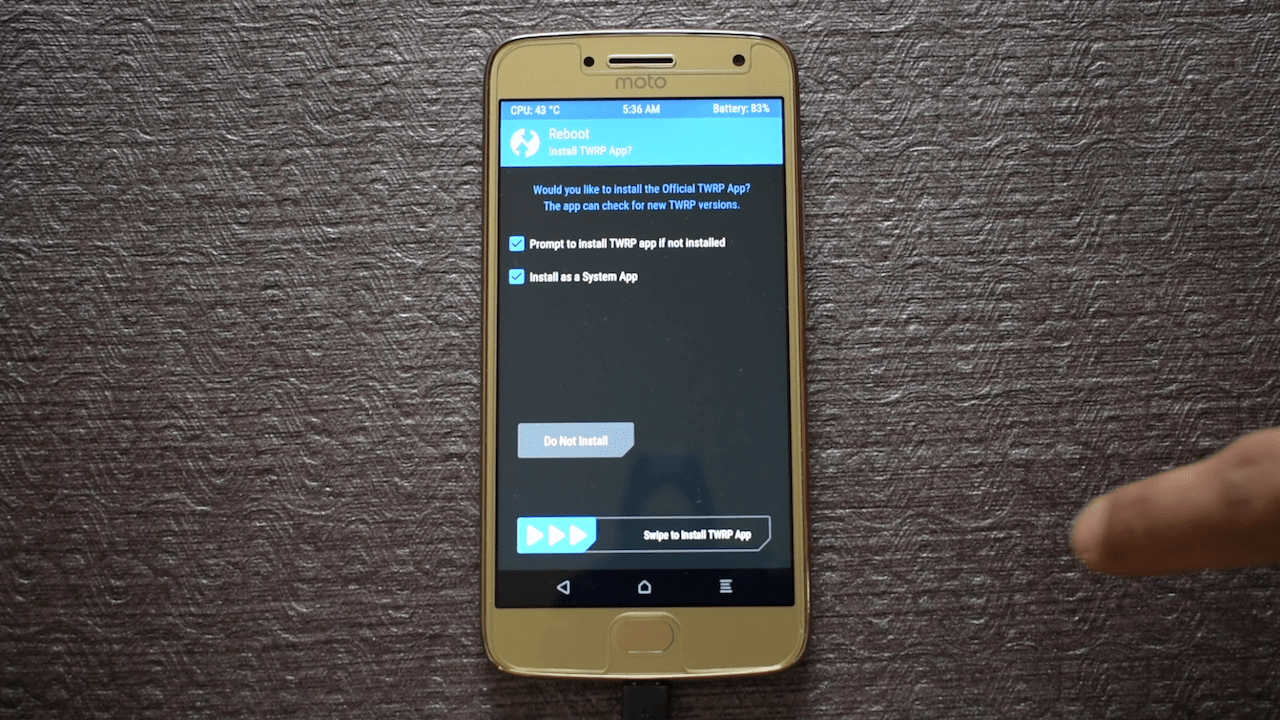
- After the process completes, click on Reboot System, and then click on Do Not Install.
- The first boot will take some time. Below is the Lineage OS boot animation.
- Now set up your phone as a brand new device.
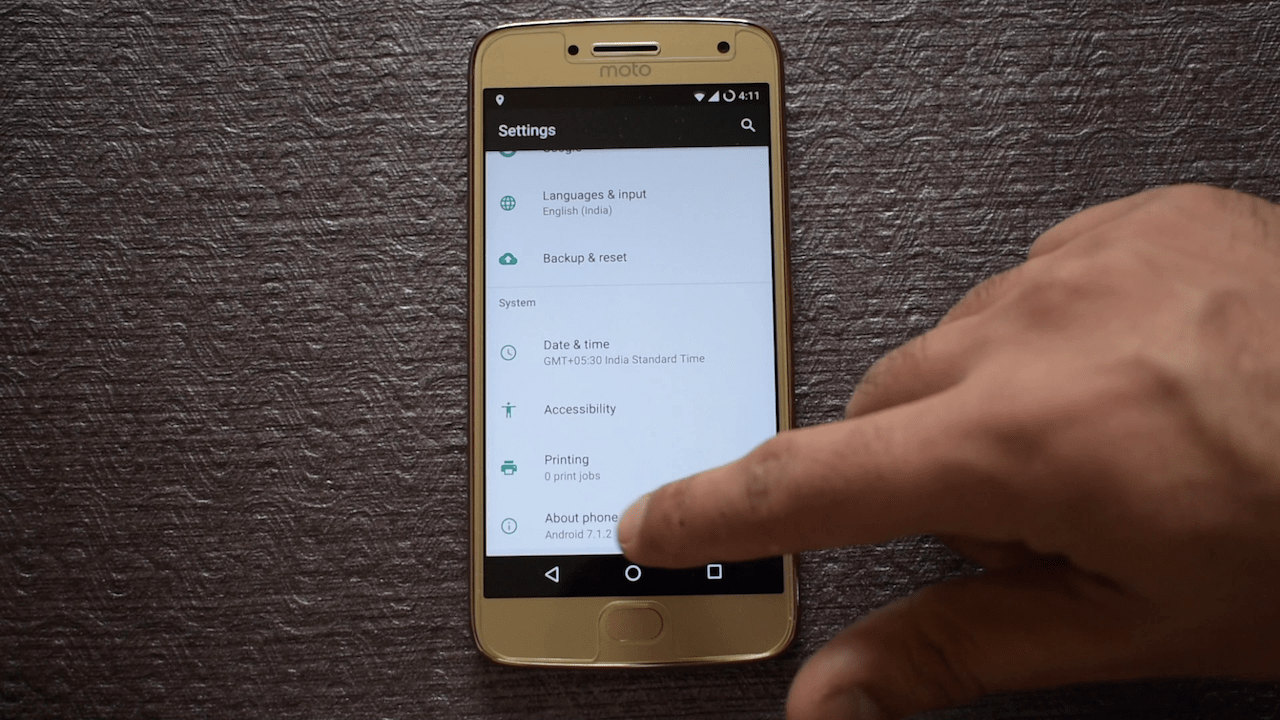
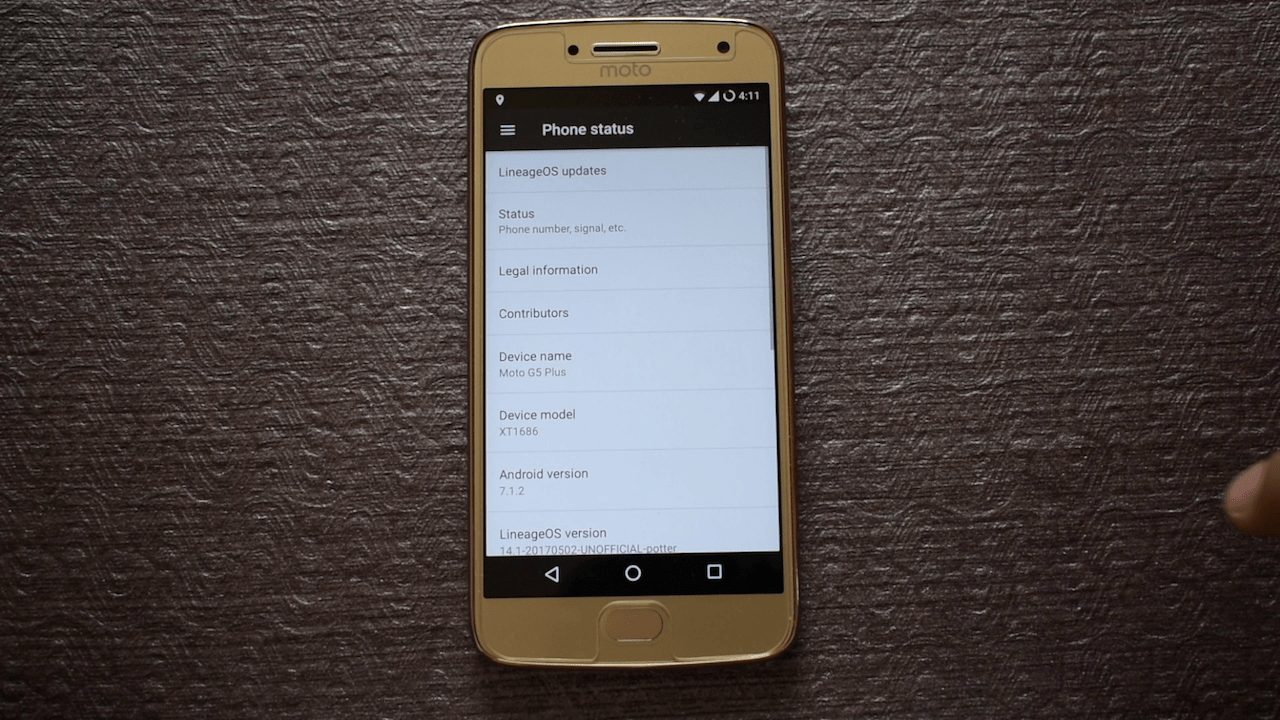
- After the setup is complete, go to the Setting Menu and navigate to the About phone section.
- Here you can check for updates for the Lineage OS ROM.
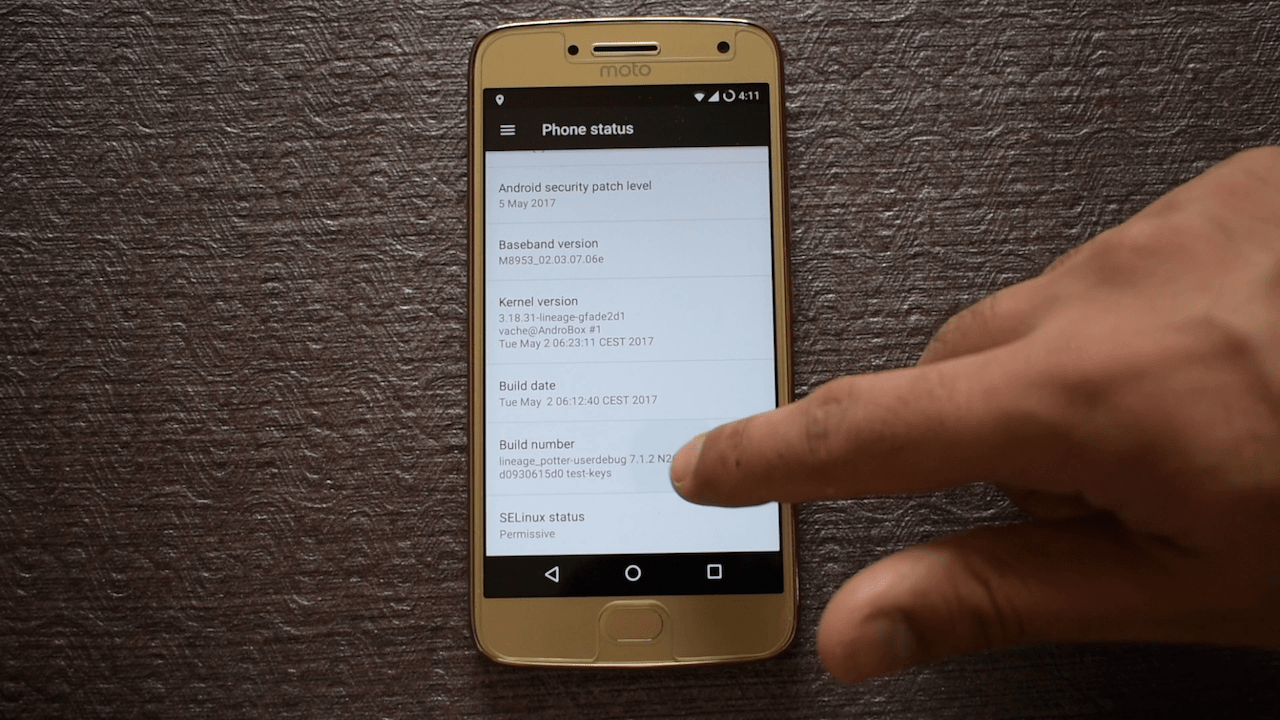
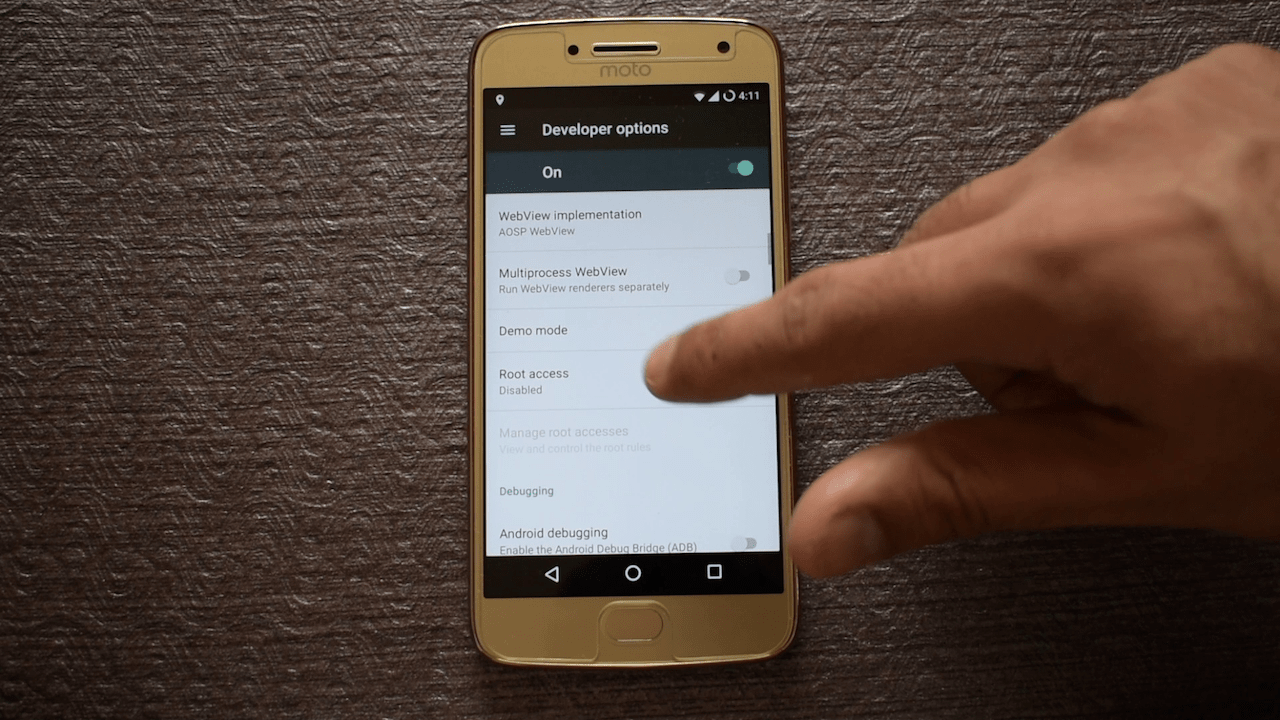
- Now tap the Build Number 7 times to unlock the Developer Options.
- Now navigate to the Developer Options section, and tap on Root Access. Select Apps and ADB. This will enable root access for apps.
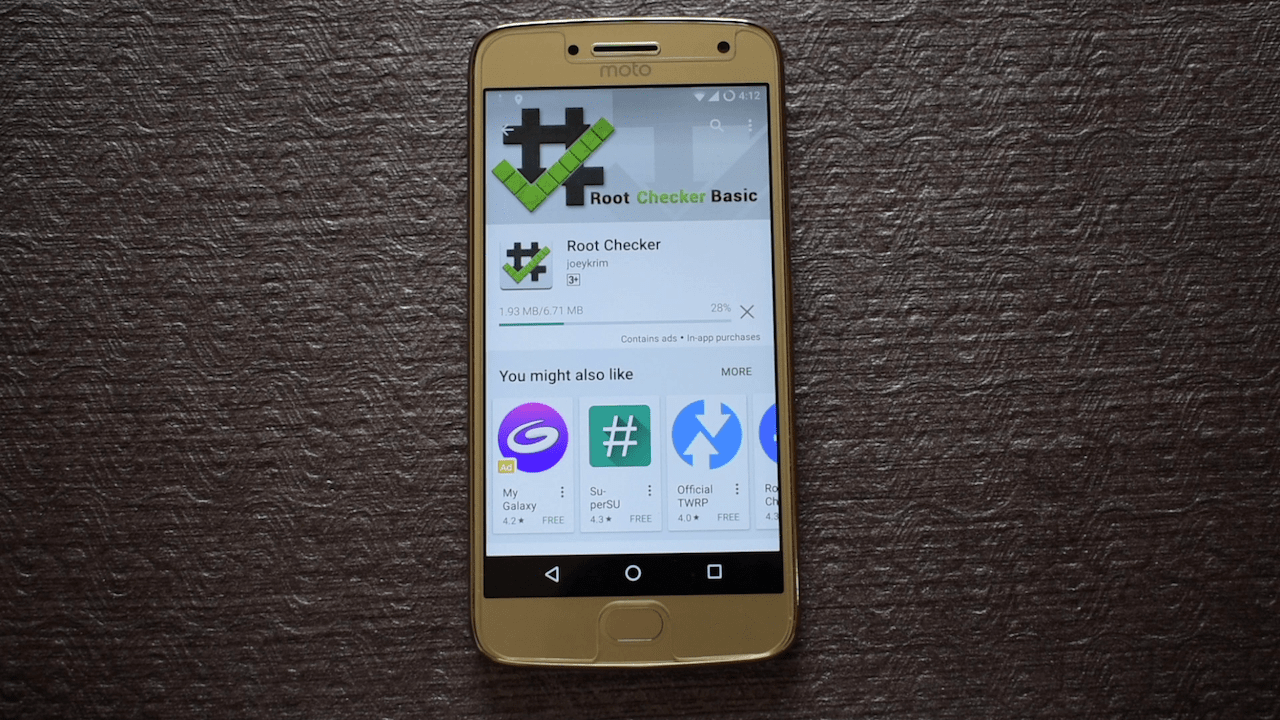
- To check if the Root access is properly functioning, go to the Play Store and install an app called Root Checker.
- Open the app after installation, click Agree, then click on GET STARTED and then tap on Verify Root.
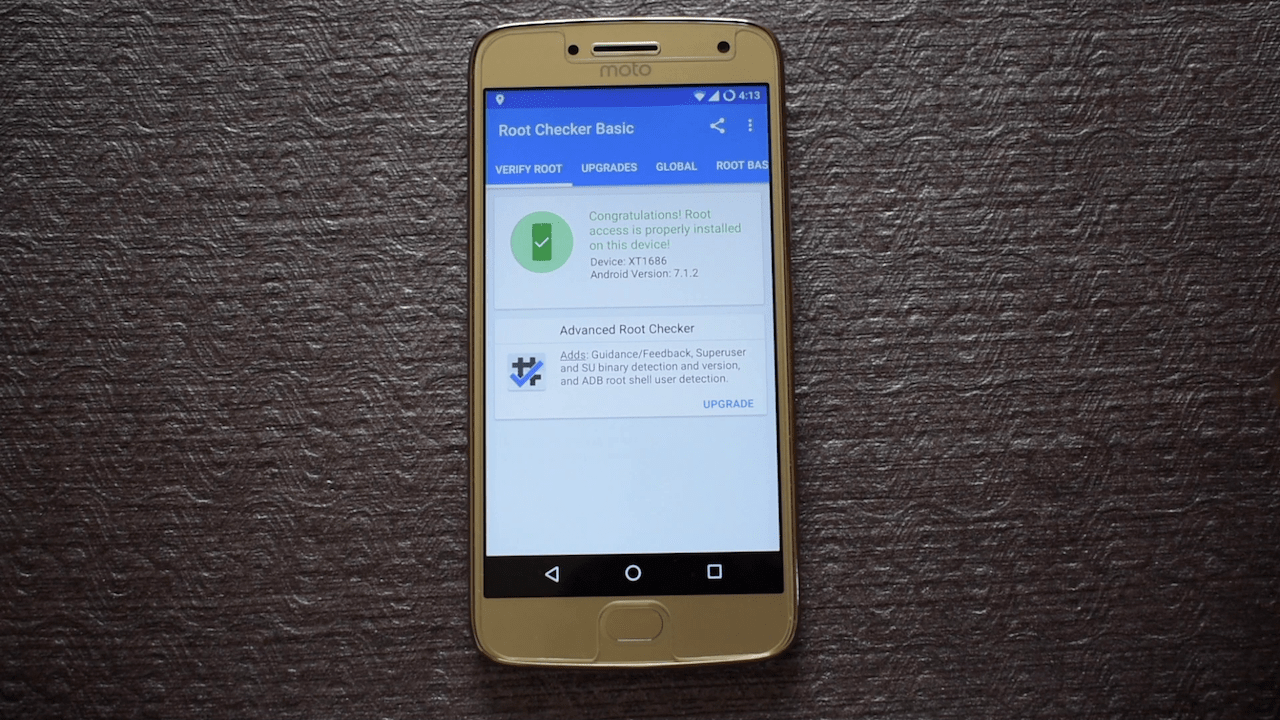
- The Root Checker app will ask for root permissions, click on Allow.
- As you can see, the Root access is properly installed on our Moto G5 Plus.
This was the simplest way to install Lineage OS on your Moto G5 Plus.